Product Photography 101: A DIY Guide for Beautiful, Professional-Looking Photos
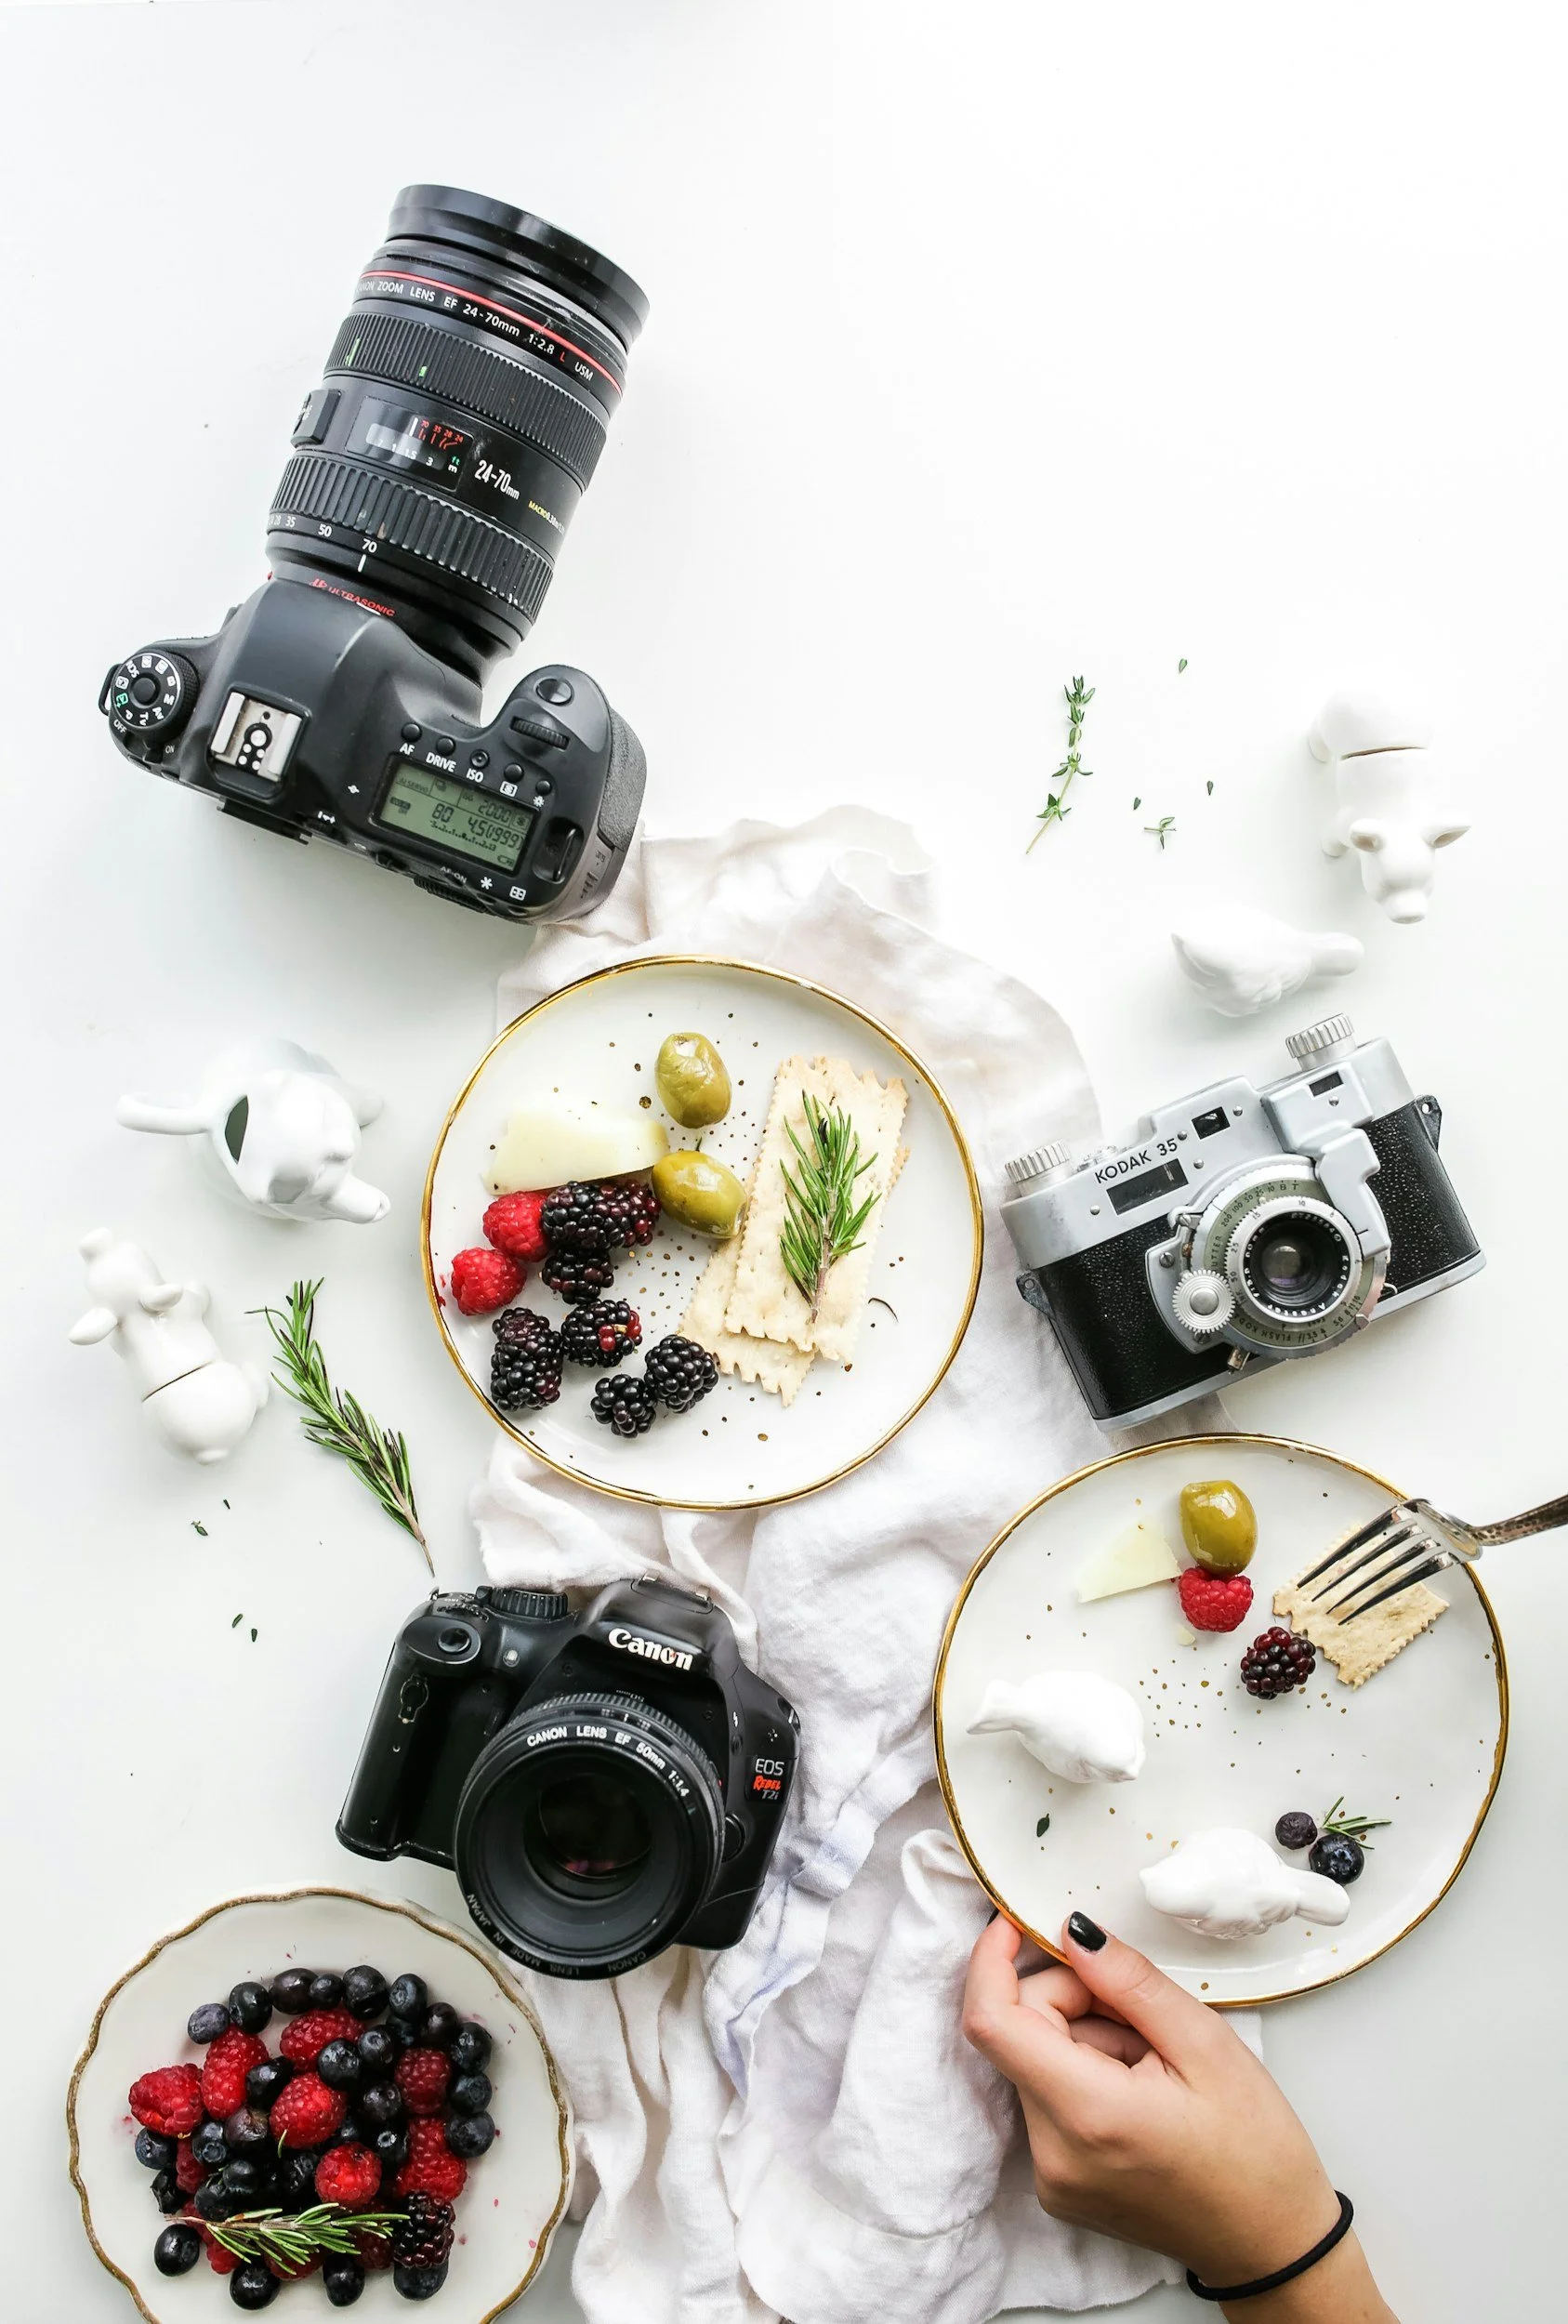
You don’t need a fancy studio or a pro photographer to create stunning product images that sell. Whether you're launching your first offer, listing handmade goods, or updating your website, high-quality visuals make a huge difference. This guide will walk you through the essentials of DIY product photography—even if you’re using a smartphone!
Why Product Photography Matters
Your product photos are your first impression. Crisp, well-lit images build trust, grab attention, and communicate the value of your offer instantly. Great visuals can:
Increase conversions on your website
Elevate your brand’s perceived value
Reduce customer questions (especially about size, use, or ingredients)
What You’ll Need
Don’t worry—you don’t need a huge budget. Here's a simple starter kit:
Smartphone or camera with a decent lens
Natural lighting or a ring light/softbox
Faux backgrounds (more below!)
Basic props or risers (books, boxes, trays)
A tripod (even a mini one) for stability
Editing app (like Lightroom Mobile, Snapseed, or Canva)
Backdrops Make a Big Difference
To create clean, scroll-stopping photos, you’ll want a consistent, clutter-free background. Here are a few easy and affordable options:
Faux Surfaces (Highly Recommended!)
Replica Surfaces: These are reusable, wipeable, professional-grade surfaces that snap into a stand. Choose a combo of flatlay (bottom) and backdrop (vertical) to build a mini studio anywhere.
Great options: “Marble,” “White Tile,” “Cement,” or “Weathered Wood” for a lifestyle feel.
Look for neutral, textured surfaces that won’t compete with your product.
Budget-Friendly DIY Options:
Foam boards wrapped in contact paper
Poster boards from a craft store
Fabric, butcher paper, or peel-and-stick wallpaper
💡Pro Tip: Use the same 2-3 backdrops across all your images for a cohesive brand look.
Let’s Talk About Lighting
Lighting can make or break your photo. Here’s how to get it right:
Use Natural Light When You Can
Set up near a window with indirect sunlight (north-facing windows work best).
Use sheer curtains or a diffuser (like a white shower curtain) to soften harsh light.
Or Use a Light Kit
A simple ring light or softbox can mimic natural light and keep your lighting consistent, especially if you’re shooting at night.
🔦 Avoid overhead lights and harsh shadows. Use white foam boards or reflectors to bounce light and reduce shadows on your product.
Angles & Composition: Show All the Details
Different angles tell different stories. Think like your customer—what do they need to see before clicking “Buy”?
Here’s a checklist of essential shots:
Hero Shot: The main image—front view, centered, clean background.
Side Angle: Adds dimension and makes your product feel real.
Back/Underside: Show ingredients, instructions, nutrition facts, or safety info.
Detail Close-Up: Zoom in on textures, labels, or small features.
Lifestyle Shot: Show your product in use or styled with props that match your brand vibe.
📸 Use the Rule of Thirds to guide your composition. Many phone cameras have a grid built in—turn it on and use it to frame your shots.
Keep Branding in Mind
Use props that enhance the product, not distract. Think: neutral dishware, flowers, fabric, or tools related to the product.
Stick to your brand color palette when choosing props or surfaces.
If your packaging includes your logo or color scheme, highlight it clearly.
Clean & Consistent Editing (and Why It Matters)
After you shoot, it’s time to polish things up. The goal isn’t to transform your product—it’s to enhance it just enough to look clean, clear, and true to life.
Here’s what to focus on when editing:
Adjust brightness, contrast, sharpness, and white balance to make your product pop without looking overdone.
Avoid heavy filters—stick to natural, true-to-color tones so customers know exactly what they’re getting.
Use the same preset or editing style across all your product images to create a cohesive, branded look.
Be mindful of consistent object placement and scaling (size). If one photo shows your product filling the whole frame and the next shows it tiny in the center, it can feel disjointed on your website or shop. Align and size your products consistently for a professional, trustworthy vibe.
🛠️ Pro Tip: Many editing apps like Lightroom Mobile, VSCO, or Canva Pro let you save editing templates so you can apply the same look to every image.
Bonus: Batch Your Shoots Like a Pro
Once your setup is ready:
Plan out a shot list beforehand
Photograph multiple angles in one go
Capture both square (for Instagram/shop) and vertical (for Stories/Pinterest)
Take extra shots you can crop later for marketing or ads
Final Thoughts: You’ve Got This
Product photography can feel overwhelming at first, but with a little prep and practice, you’ll be amazed at what you can create on your own. Start simple, shoot often, and remember: consistency beats perfection every time.
Need Help Making It Look Pro?
RISEmpowerment offers done-for-you photo editing for ecommerce brands—perfect for when you’ve shot your photos but need help making them web-ready, scroll-stopping, and brand-aligned.
We also work closely with a trusted network of professional product photographers across the country. If you want that “wow” factor and a fully polished shoot without the guesswork, we’ll connect you with the right creative partner to bring your vision to life—and get it right the first time.
Want that polished finish without spending hours tweaking? Reach out here—we’ll handle the post-production or connect you to a pro so your products shine online. ✨

The ultimate guide to building a website that actually works for your business.
Feeling overwhelmed by everything you need to launch or redesign your website? Don’t worry—we’ve got you.
The RISEmpowerment Interactive Website Planning Workbook is your all-in-one, easy-to-follow roadmap for gathering every asset, writing clear content, and mapping out a website strategy that actually converts. Whether you're DIY-ing or working with a pro, this workbook helps you show up organized, confident, and ready to build a site that aligns with your brand and your goals.
Start your website project the right way—organized, strategic, and ready to shine. Download your copy today and get your site working for you, not just about you.
Ultimate Website Planning Workbook © 2025 by RISEmpowerment
If you found value in this topic, subscribe to our email newsletter and share this post with your business bestie!